Just got my PC a clean reinstall recently and forgot to backup the Windows Terminal configuration, took me some time to research on how to do the customization again. Why not just write it down in case I need to do this all over again in the future? And you, my friend, who's reading this post, it may help you a bit if you want to customize your Windows Terminal.
Links#
- Windows Terminal
- PowerShell Core
- GitHub release page
- Format:
PowerShell-<version>-win-<os-arch>.msi - Example:
PowerShell-7.1.0-win-x64.msi
- Format:
- GitHub release page
- Windows Terminal Themes
- oh-my-posh
- Nerd Fonts
Installation#
I will skip the Windows Terminal and PowerShell installation. Those two are pretty straight forward, just download them, run and install. I will move straight into the customization process.
Nerd Fonts/Powerline Font#
Powerline fonts are required for using the custom themes in oh-my-posh. Otherwise some of the special characters won't display properly. I used to use the Cascadia Code Powerline font from Microsoft with oh-my-posh V2. The same author released a new version "V3" September this year, and the Cascadia font is not working properly in the new version, so I changed to Nerd Font, which is also recommended by the oh-my-posh developer.
Install#
Go to the preview and download page, look for the font that you like and download it. After finished downloading, extract and install all the font files.
I am currently using the Caskaydia Cove font, works fine for me.
Note: The first time that I downloaded it was on the
Nerd Fontofficial website, it wasn't working for me. So, I went to the release page of the GitHub repo, and downloaded the font from there. Try this if the font doesn't work.
oh-my-posh#
V2 of oh-my-posh won't get and new features anymore, only bug fixes, according to the author. So, I am using the new V3 version from now on.
Install#
Tutorial from the official documentation.
Install command#
Install-Module oh-my-posh -Scope CurrentUser -AllowPrerelease
List all local themes#
Get-PoshThemes
Change Theme#
Let say you want to change to the agnoster theme from the list. Input the following:
Set-PoshPrompt -Theme agnoster
My themes are in the directory C:\Users\{your_username}\Documents\PowerShell\Modules\oh-my-posh\3.xx.xx\themes
If you want to add or write your own theme, you will need to put in the directory above. The theme name is the file name.
Let's say I created this doge.json theme file, it is also the theme I will show you at the end of this post.
I put it in the directory above, then I input the following command:
Set-PoshPrompt -Theme doge
Start PowerShell With Custom Theme#
PowerShell won't start up with the custom theme automatically, so you need a profile script that run at startup.
Input this following command to create a PowerShell profile script:
if (!(Test-Path -Path $PROFILE )) { New-Item -Type File -Path $PROFILE -Force }
Open the script with notepad:
notepad $PROFILE
Put the following command in the file and save:
Set-PoshPrompt -Theme your_theme_name
If you don't want the PowerShell startup info, you can add the following line to the profile scirpt:
Clear-Host
Customize Windows Terminal Setting#
Open setting#
Change the setting by clicking the v sign on the Windows Terminal window, then click Settings. It will open a json file with your default text editor. I recommand using Visual Studio Code or Sublime Text, other other text editors that have color scheme. Making it easier to edit the setting file.
Make PowerShell Core as the default terminal#
Look for the profile source key with the value Windows.Terminal.PowershellCore or ...pwsh.exe. Copy its guid and replace the one in defaultProfile.
Change default setting for all terminals:#
In the defaults object of the settings.json file, you can put the config here and it will apply to all termianl.
Let's say I want to change the font face, and transparency of the terminal, not just PowerShell, the settings.json file will look like the follwing:
...
"defaults":
  {
      "fontFace":"CaskaydiaCove Nerd Font",
      "useAcrylic": true,
      "acrylicOpacity": 0.1
  },
...
You can find more profile config settings in the official documentation.
Get color scheme#
Go go the Windows Terminal Themes site and look for the theme that you like. Click Get Theme to copy the theme json text, paste it in the schemes array in the settings.json file. To make you life easier, you can scroll down on the website, look for the Downlaod .json of theme button, get all the theme. Copy all the themes in that json file and paste them in the schemes array.
Set color scheme#
If you want to set the color scheme for all terminals, you will put the config in the defaults object like the one above, otherwise if you want to just set it for PowerShell, you do the following.
Find terminal profile in the list object, let's say I want the Popping and Locking scheme for PowerShell, the profile will look like the following: (... are other configs)
{
    ...
    "hidden": false,
    "name": "PowerShell",
    "source": "Windows.Terminal.PowershellCore",
    "colorScheme": "Popping and Locking"
    ...
},
Background Image#
I am using the background images from this post in level1techs forum. Using the Hue/Saturation tool in PhotoShop to change it the color that I want.
To add a background image to the terminal profile, you need the backgroundImage key, and backgroundImageOpacity if you want the background to be transparent. It looks like the following:
NOTE: You need to use forward slash
/for the image location, otherwise it won't work.
"backgroundImage": "~/background/background.png",
"backgroundImageOpacity": 0.5,
My Windows Terminal PowerShell#
This is the look of my Windows Terminal PowerShell, with a theme I made on my own, Popping and Locking color scheme, and the background image from the forum post mentioned above, adjusted the color with photoshop.
My Doge Theme#
It is a kaomoji dog firing a cannon gun
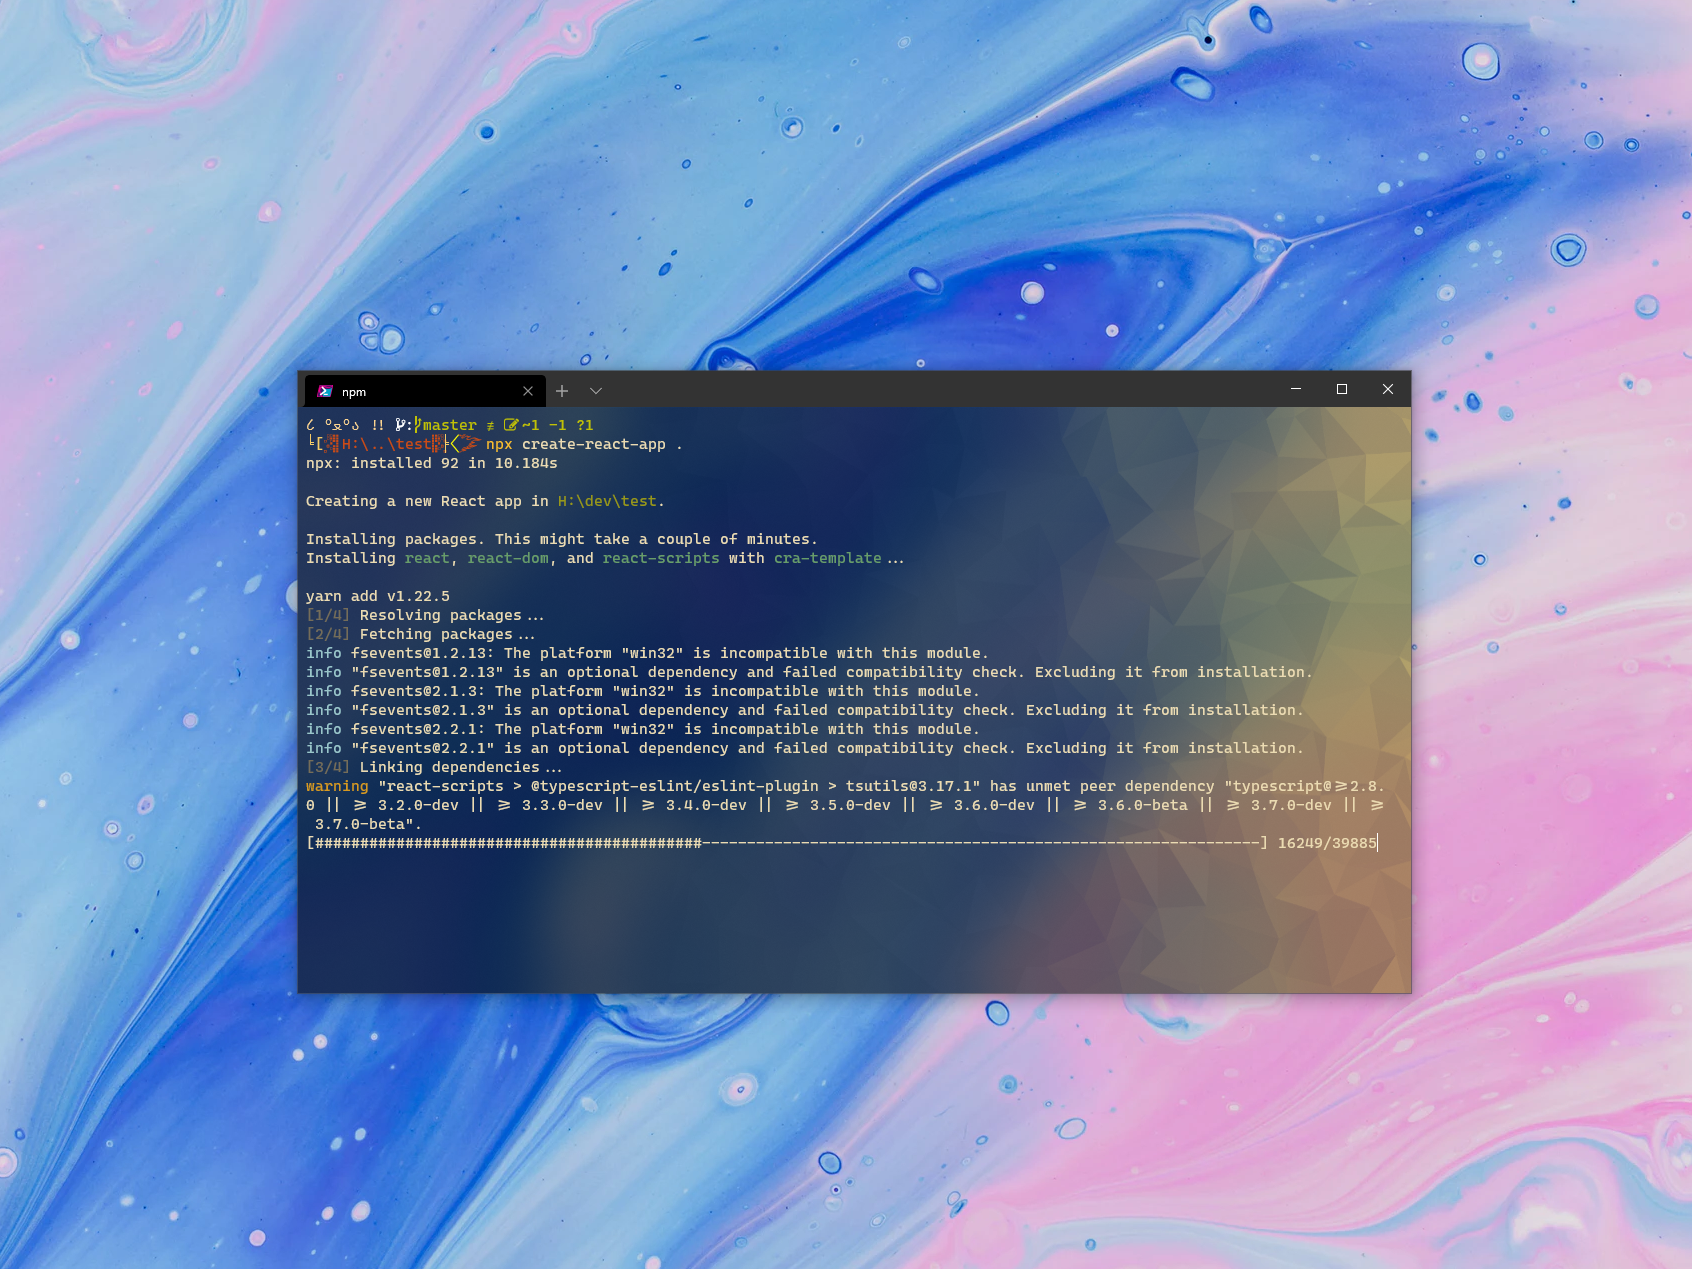
create-react-app command test#